
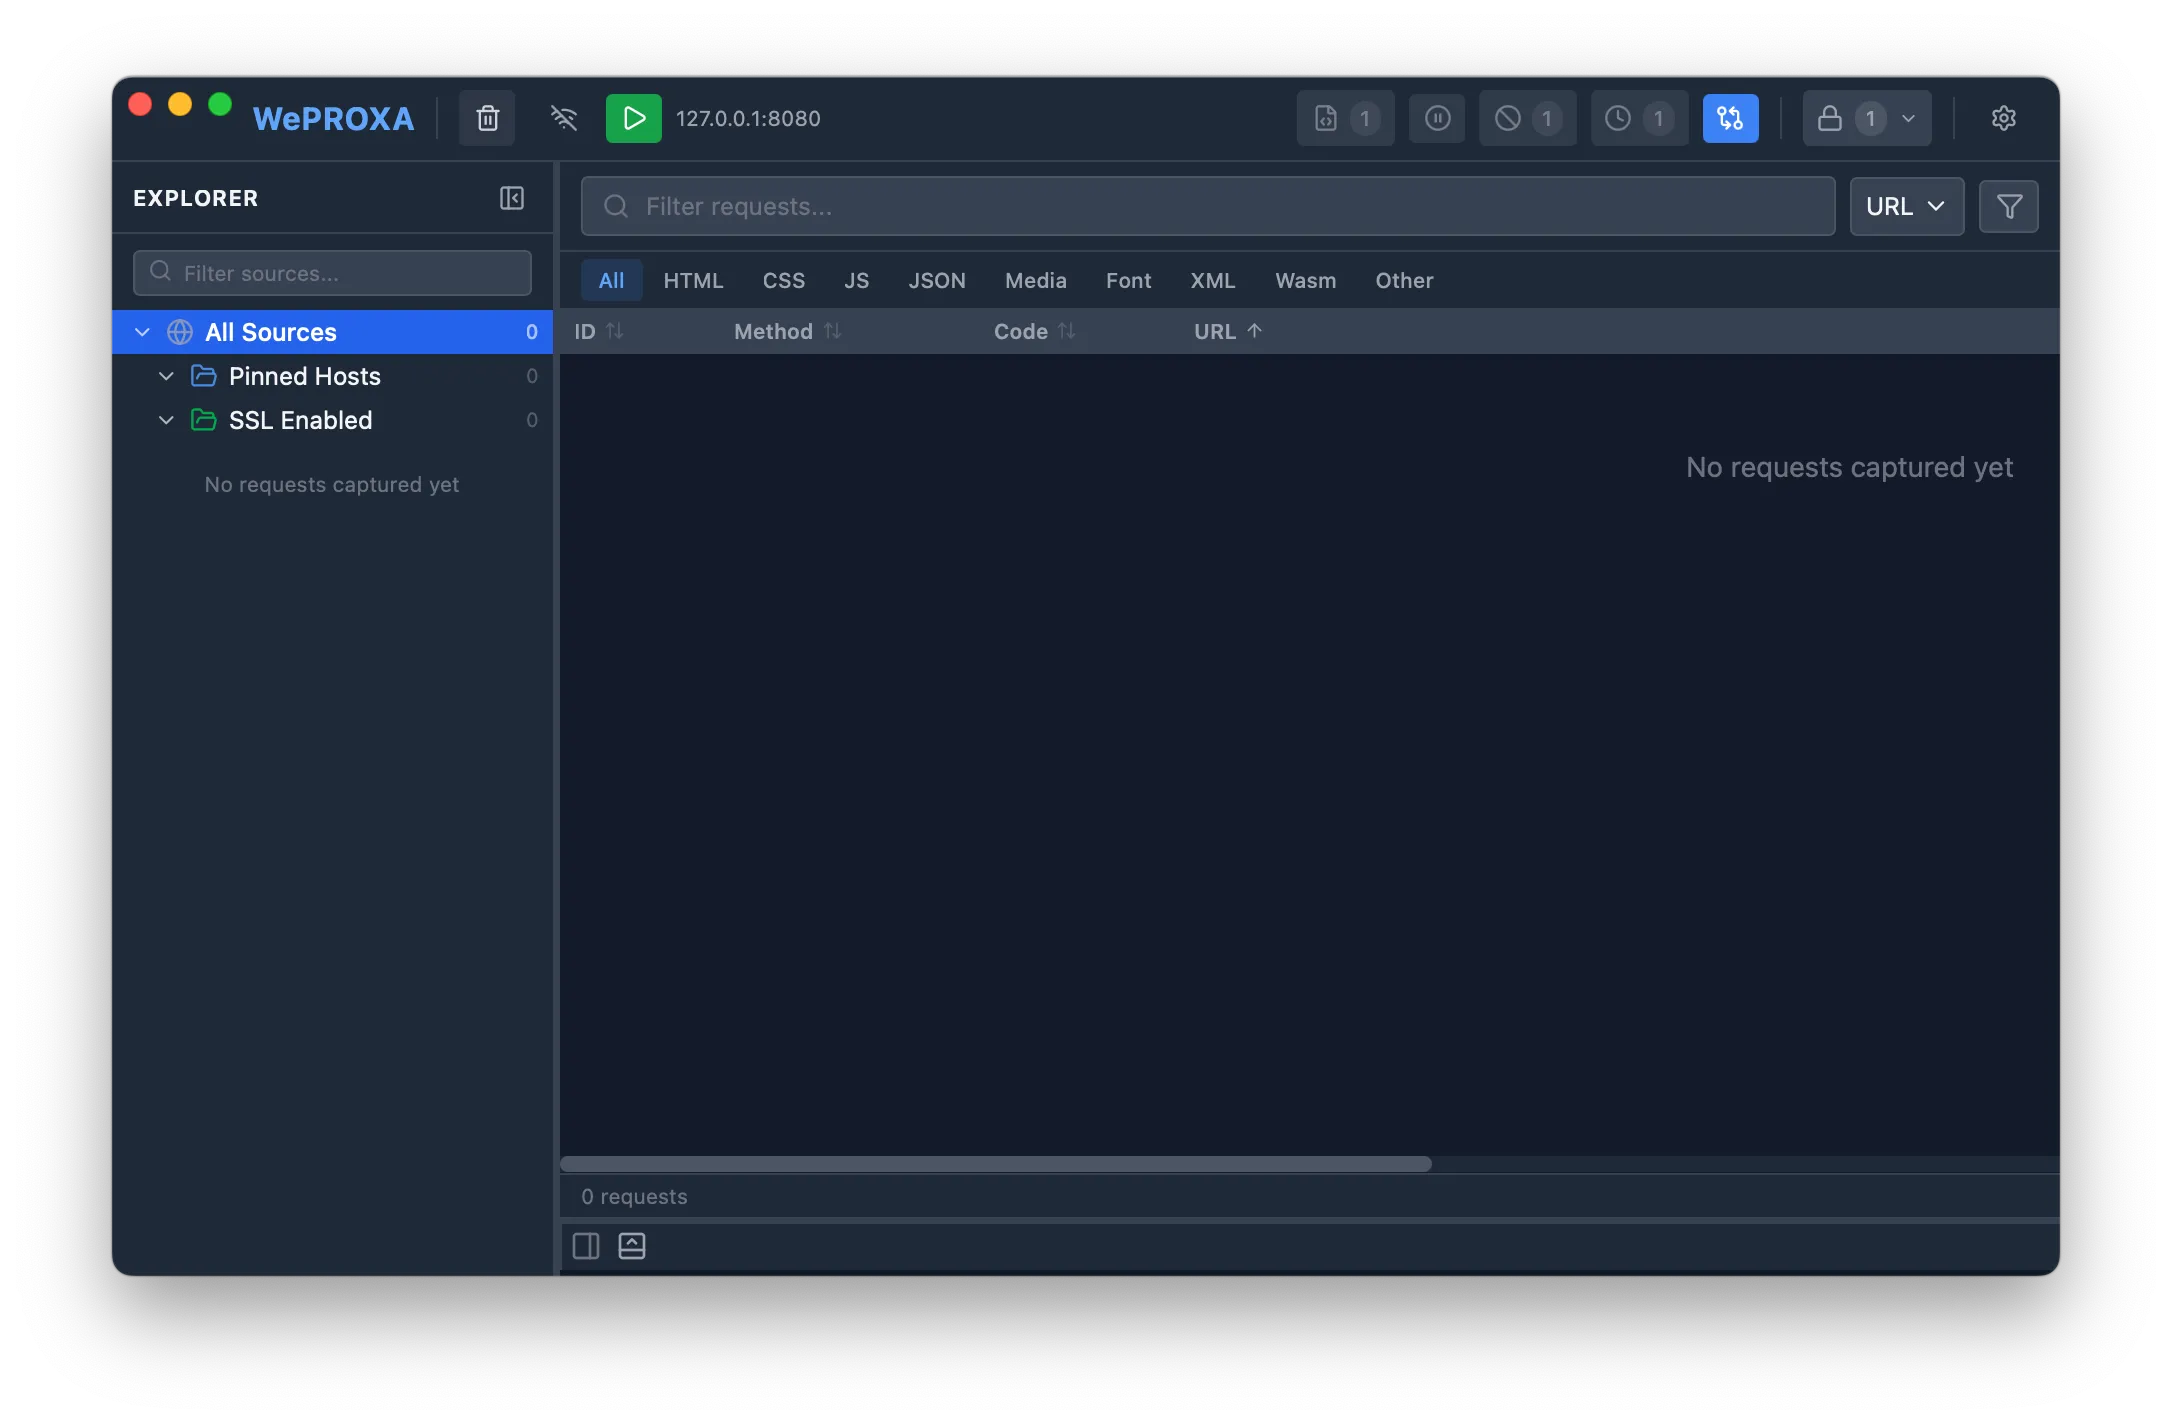
Quick Start
Get up and running with Weproxa in just a few steps.
-
Launch Weproxa from your Applications folder.
-
Start the proxy by clicking the play button in the toolbar or pressing
⌘ + P.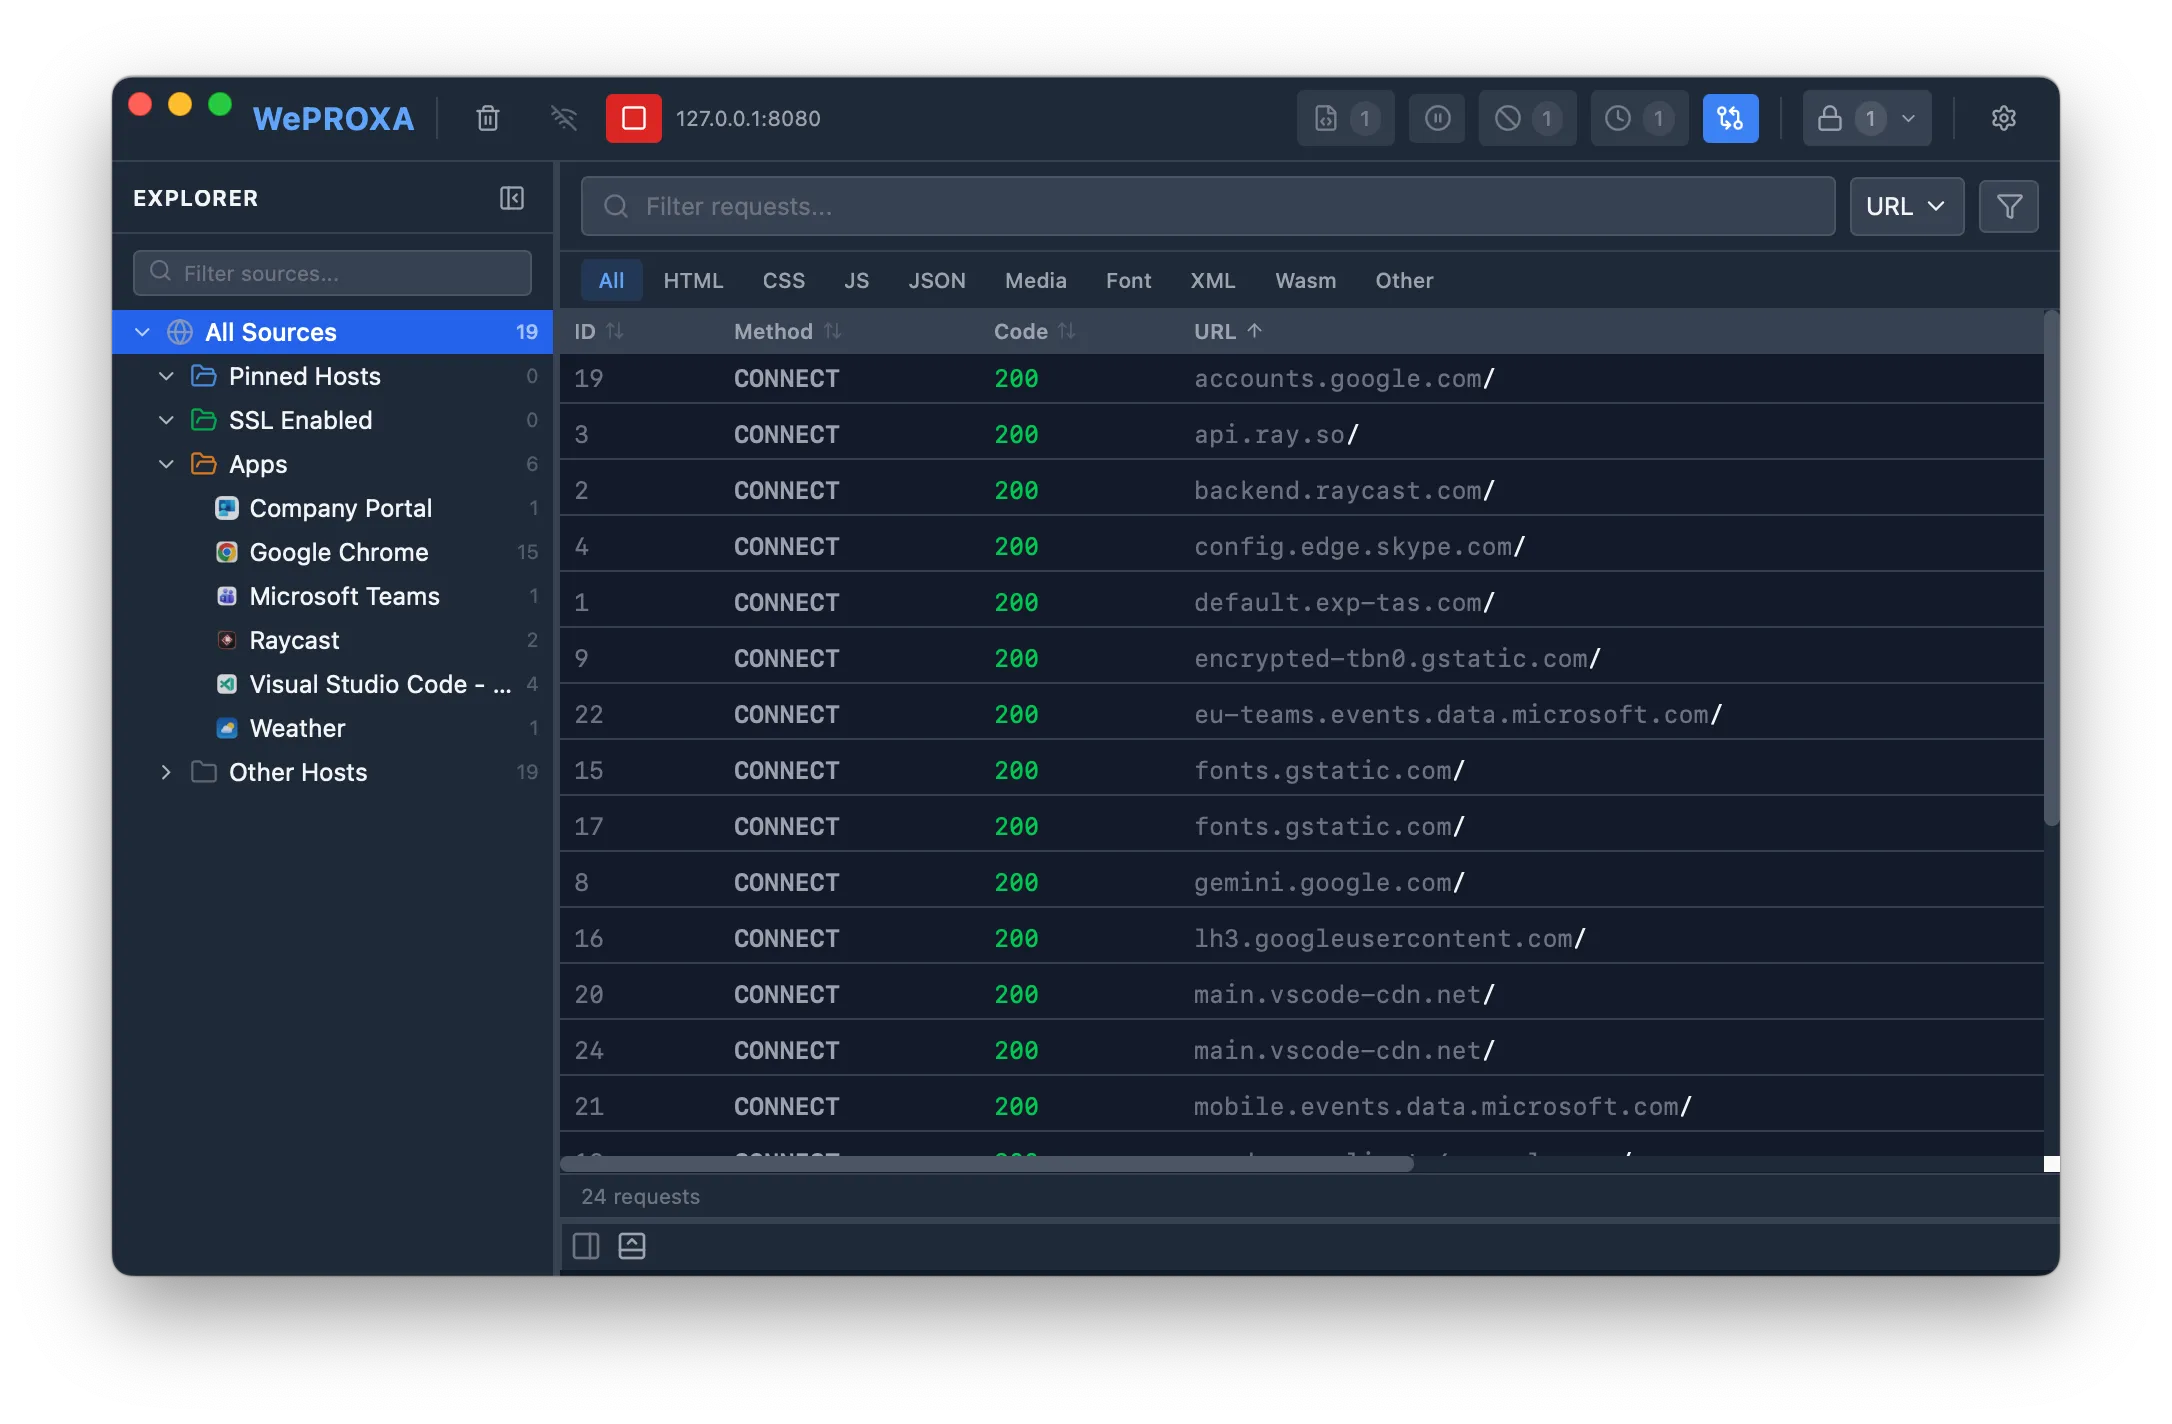
-
Enable the system proxy — Weproxa can automatically configure your Mac’s system proxy settings. Click the network icon in the toolbar to toggle it on.
-
Install the CA certificate — to inspect HTTPS traffic, go to Settings → Certificates and click Install to macOS Keychain. This is a one-time setup. See Certificate Trust for details.
-
Enable SSL for a host — click the lock icon in the toolbar and add the hosts you want to inspect (e.g.,
api.example.comor*.example.com). Alternatively, right-click any request and select Enable SSL. See SSL Interception for details. -
Browse the web — open your browser or app and make some requests. They’ll appear in the request list in real time.
-
Inspect a request — click on any request in the list to see its full details: headers, body, timing, and more.
What’s Next?
Section titled “What’s Next?”Now that you’re capturing traffic, explore Weproxa’s powerful features:
- Set breakpoints to intercept and modify requests
- Map local files to replace remote resources
- Repeat requests to test different scenarios
- Use advanced filters to find specific requests