
Quick Start
Get up and running with WePROXA in just a few steps.
-
Launch WePROXA from your Applications folder.
-
Start the proxy by clicking the play button in the toolbar or pressing
⌘ + P.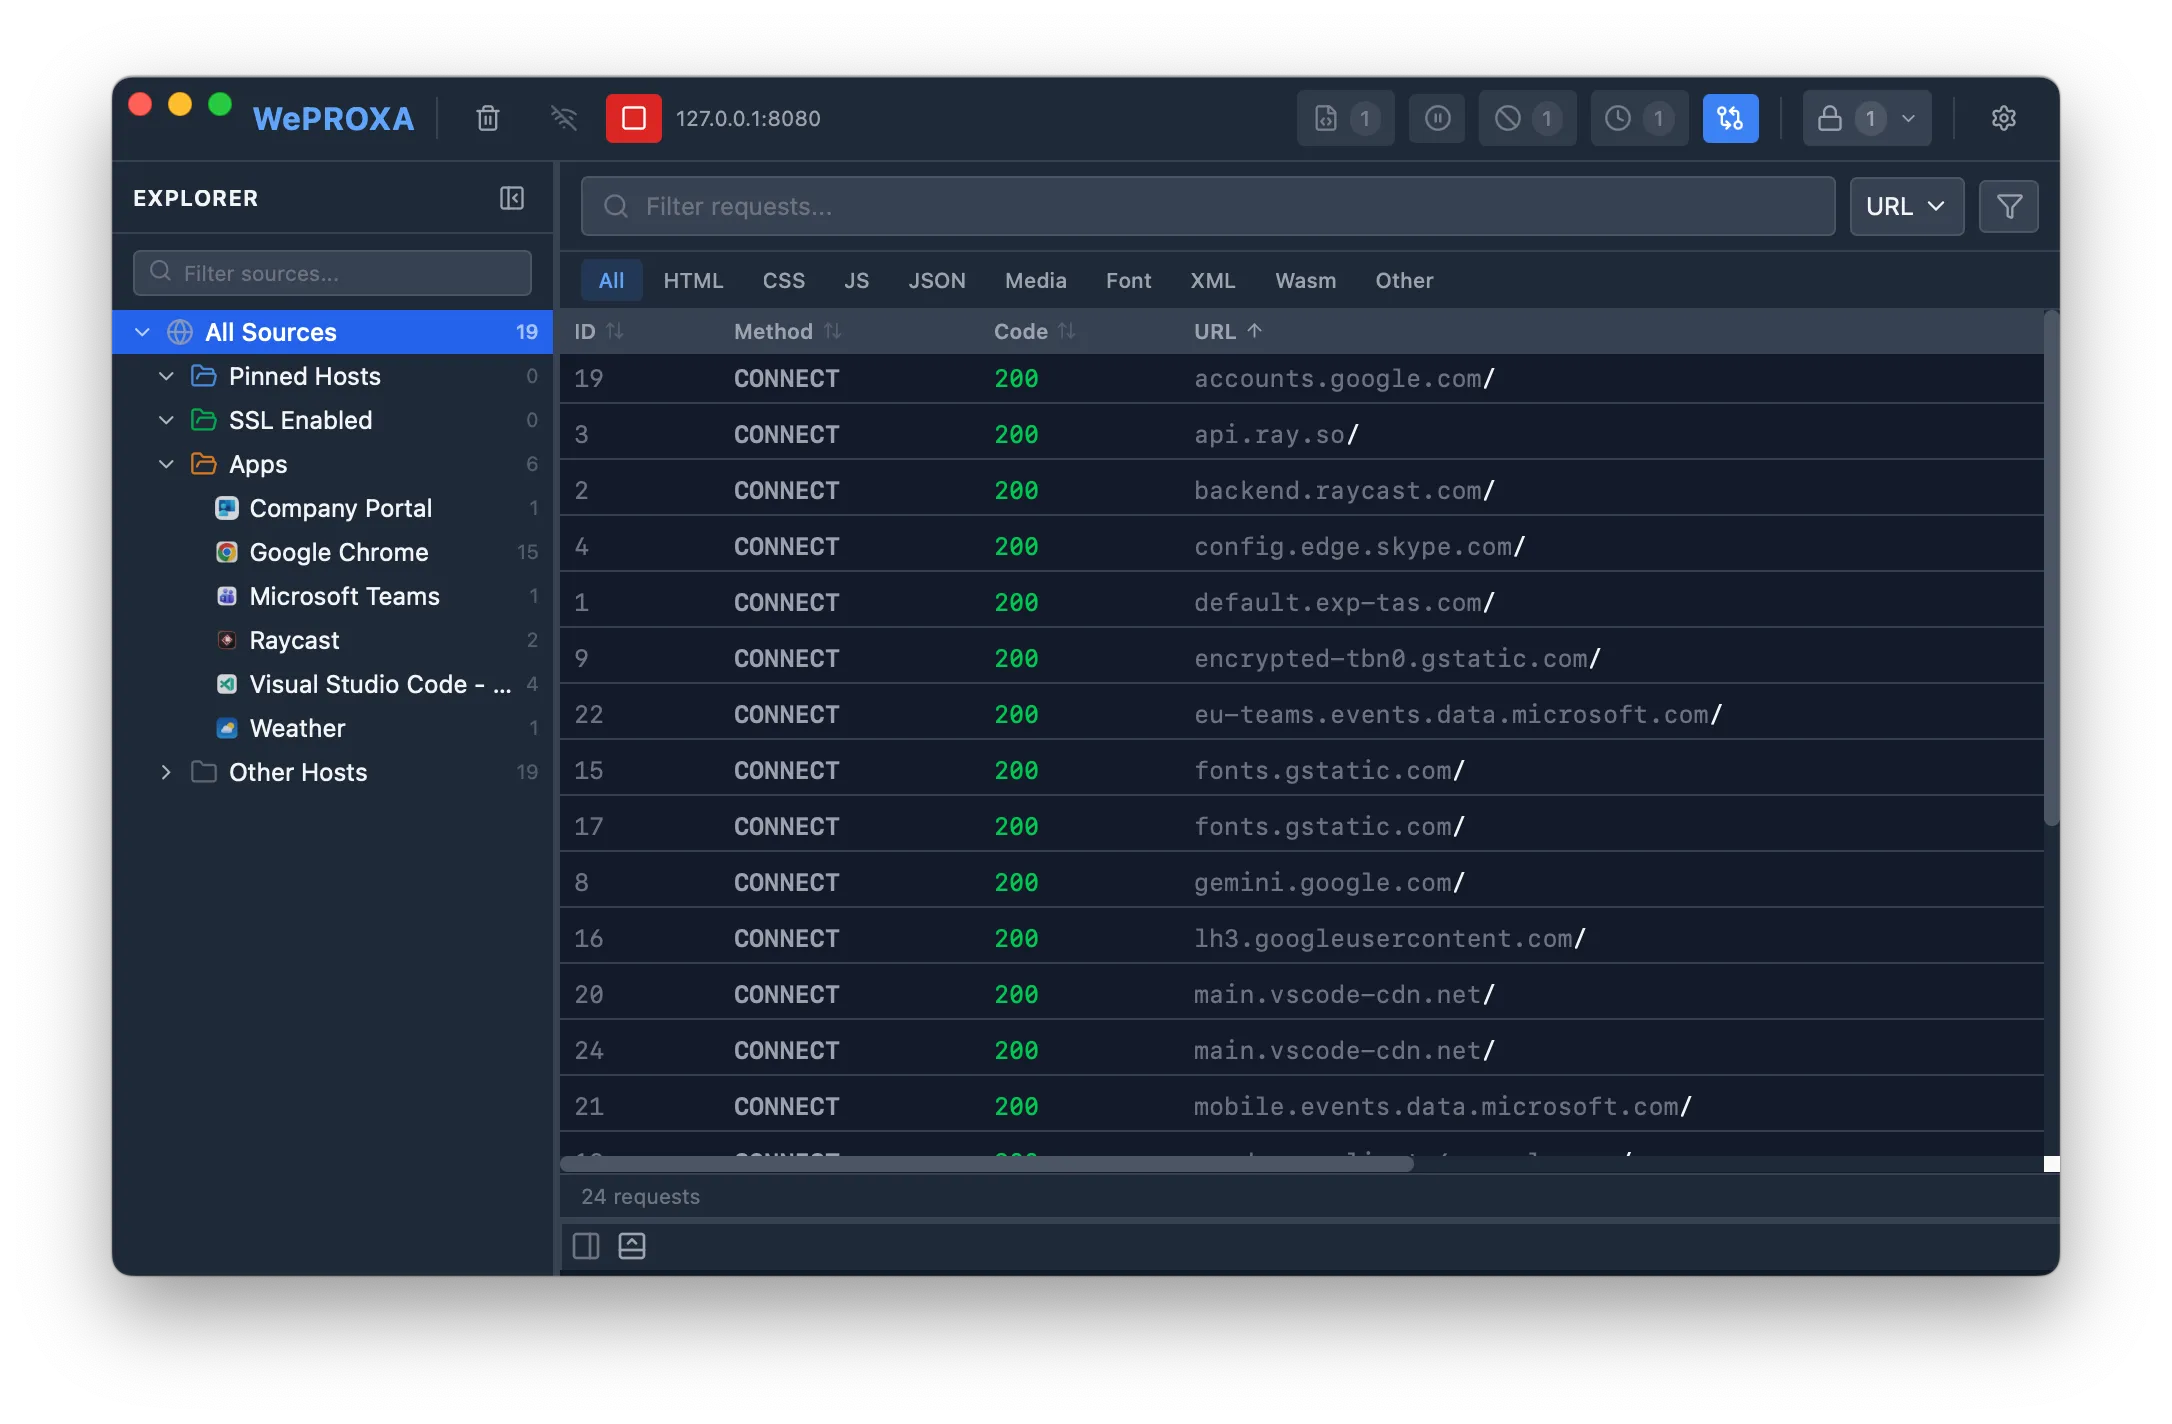
-
Enable the system proxy — WePROXA can automatically configure your Mac’s system proxy settings. Click the network icon in the toolbar to toggle it on.
-
(Optional) Auto-start on launch — enable Auto-start proxy on launch in Settings → Proxy Config. For remote capture, also enable Auto-enable LAN access on launch in Settings → Remote Access. WePROXA saves these choices and restores them after your settings finish loading on the next launch.

-
Install the CA certificate — to inspect HTTPS traffic, go to Settings → CA Certificate and click Install to macOS. This is a one-time setup. See Certificate Trust for details.
-
Enable SSL for a host — click the lock icon in the toolbar and add the hosts you want to inspect (e.g.,
api.example.comor*.example.com). Alternatively, right-click any request and select Enable SSL. See SSL Interception for details. -
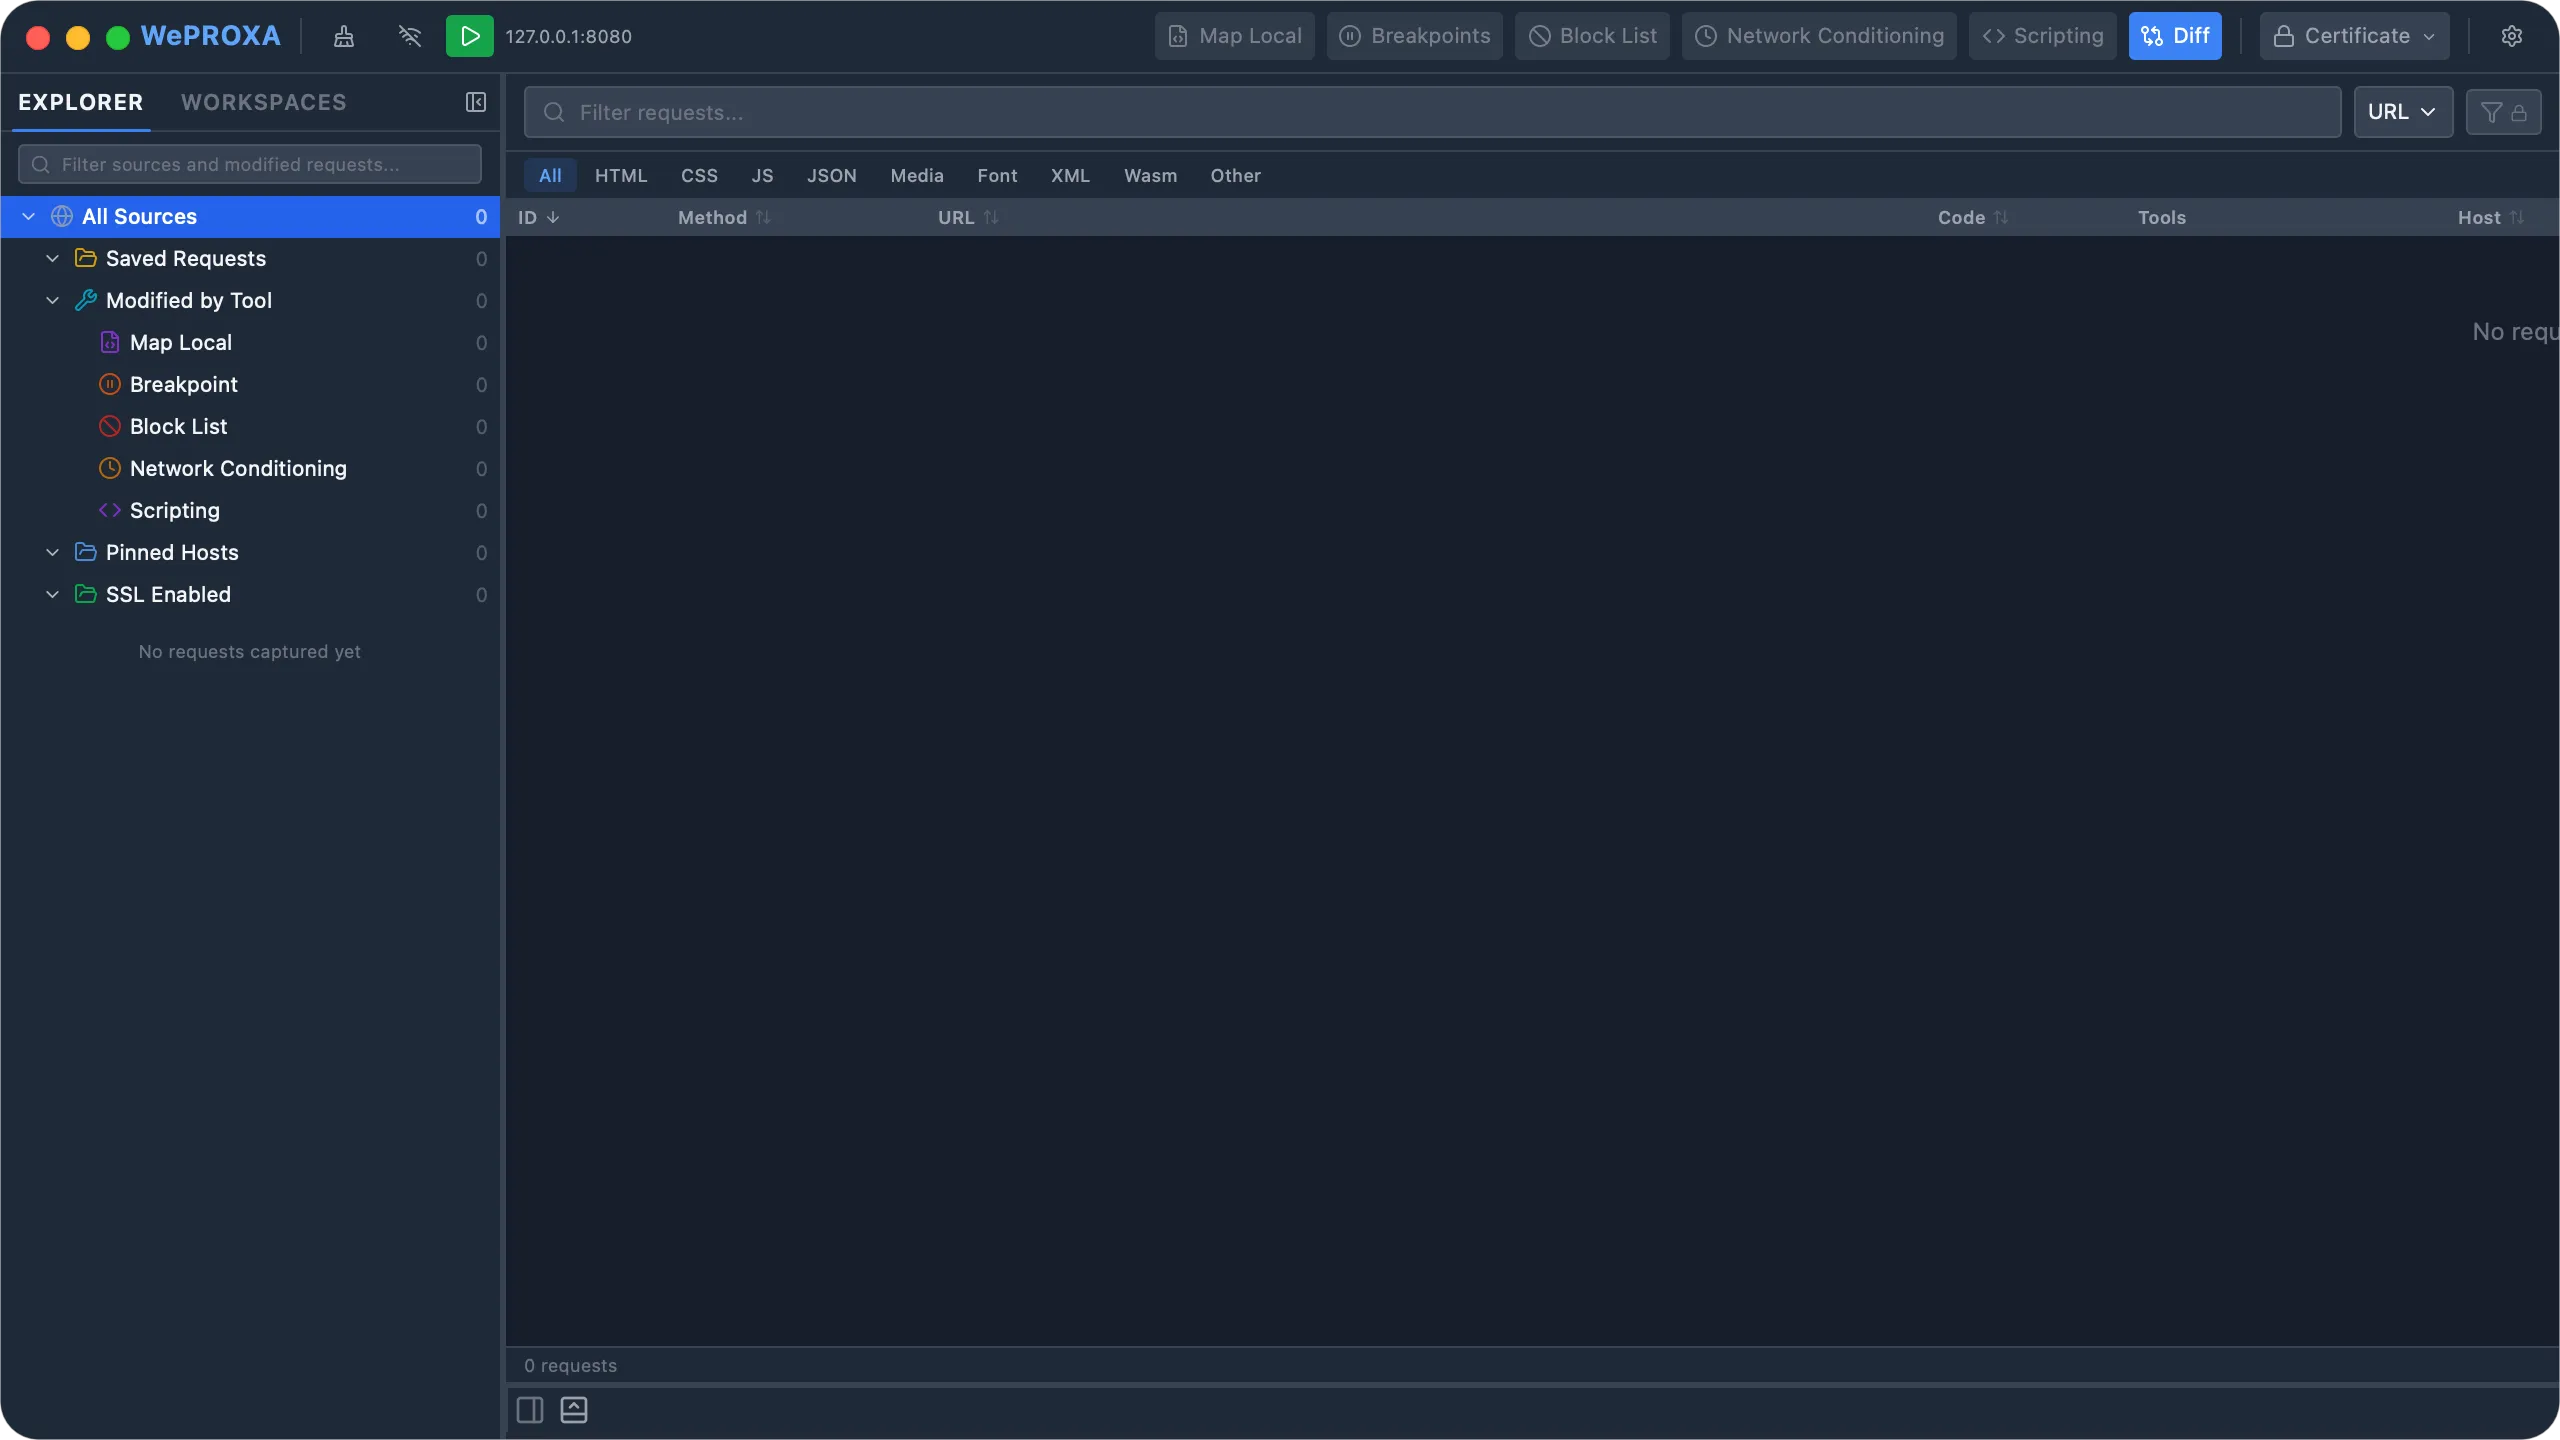
Browse the web — open your browser or app and make some requests. They’ll appear in the request list in real time.
-
Inspect a request — click on any request in the list to see its full details: headers, body, timing, and more.
-
Launch WePROXA from the Start menu.
-
Start the proxy by clicking the play button in the toolbar or pressing
Ctrl + P. -
Enable the system proxy — click the network icon in the toolbar. WePROXA configures the Windows proxy settings for the current user and restores the previous values when capture stops or the app exits normally.
-
(Optional) Auto-start on launch — enable Auto-start proxy on launch in Settings → Proxy Config. For remote capture, also enable Auto-enable LAN access on launch in Settings → Remote Access. WePROXA saves these choices and restores them after your settings finish loading on the next launch.
-
Review HTTPS certificate trust — HTTPS body inspection on Windows requires a trusted local CA. Open Settings → CA Certificate and click Learn More, or read Windows HTTPS Certificate Setup before deciding whether HTTPS inspection is appropriate for your device.
-
Enable SSL for a host — click the lock icon in the toolbar and add the hosts you want to inspect (e.g.,
api.example.comor*.example.com). Alternatively, right-click any request and select Enable SSL. See SSL Interception for details. -
Browse the web — open your browser or app and make some requests. They’ll appear in the request list in real time.
-
Inspect a request — click on any request in the list to see its full details: headers, body, timing, and more.
Auto-start Behavior
Section titled “Auto-start Behavior”Auto-start proxy on launch is the main switch for automatic capture. When Auto-enable LAN access on launch is also enabled, WePROXA enables LAN access first and then starts the proxy on the saved port. The persisted settings are loaded before either action runs, so a cold start uses the same configuration you selected previously.
Terminal Proxy Setup
Section titled “Terminal Proxy Setup”Most browsers use the system proxy once you enable it in WePROXA. Some terminal tools prefer environment variables, especially inside shells, package managers, or language runtimes.
In Settings → Proxy Config, click Open Configured Terminal to open a Terminal session with WePROXA proxy variables already set. You can also copy the export commands into your current shell:
export HTTP_PROXY=http://127.0.0.1:8888export HTTPS_PROXY=http://127.0.0.1:8888export ALL_PROXY=http://127.0.0.1:8888In Settings → Proxy Config, copy the terminal proxy commands for your current port. For PowerShell, set the variables in the shell you want to capture from:
$env:HTTP_PROXY = "http://127.0.0.1:8888"$env:HTTPS_PROXY = "http://127.0.0.1:8888"$env:ALL_PROXY = "http://127.0.0.1:8888"For Command Prompt:
set HTTP_PROXY=http://127.0.0.1:8888set HTTPS_PROXY=http://127.0.0.1:8888set ALL_PROXY=http://127.0.0.1:8888What’s Next?
Section titled “What’s Next?”Now that you’re capturing traffic, explore WePROXA’s powerful features:
- Set breakpoints to intercept and modify requests
- Organize rules with workspaces for different projects or scenarios
- Map local files to replace remote resources
- Repeat requests to test different scenarios
- Use advanced filters to find specific requests